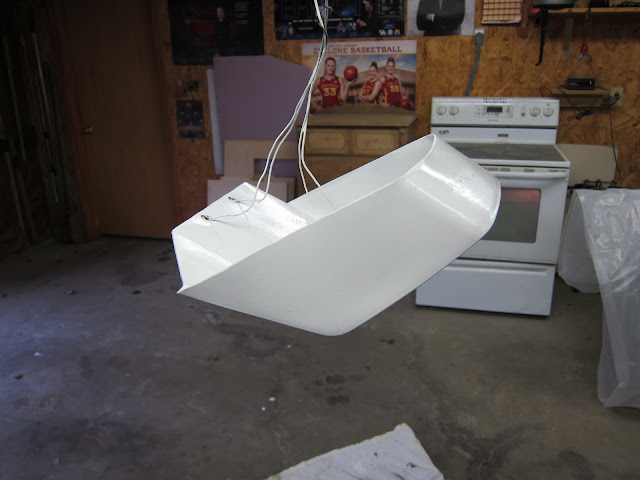
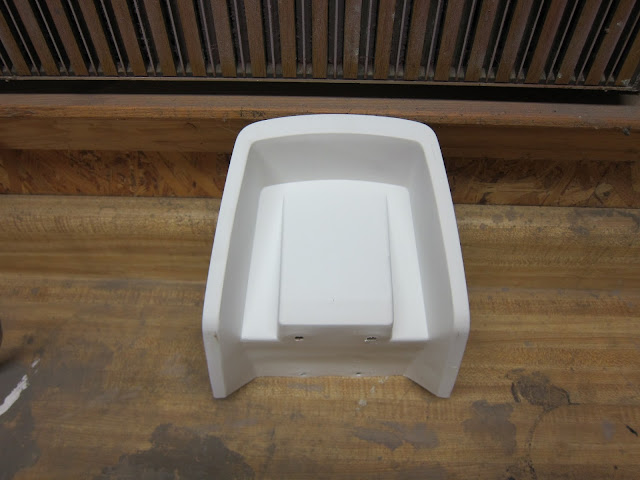
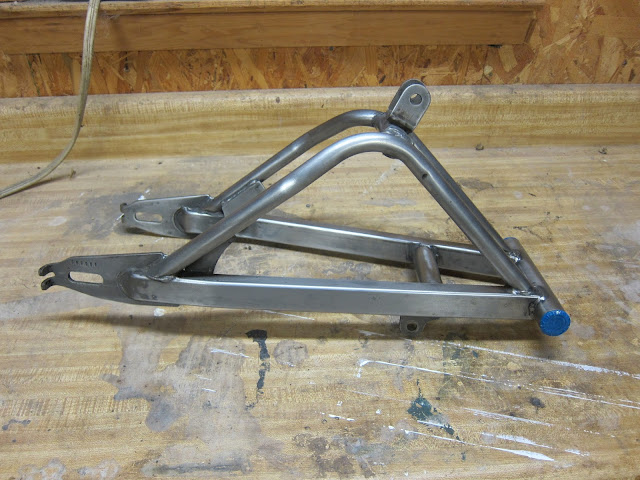
For a while now I've been thinking about how to powder coat the AR's frame and swingarm. They obviously won't fit in my normal sized kitchen oven. Do I have them professionally done? Too expensive. Do I buy an infrared curing lamp? Too expensive. Do I buy a large powder coat oven? Too expensive. Do I build a larger oven? Maybe, but it seems like kind of a waste to build a whole second oven just to do a few larger items. Do I build some sort of oven extension box that allows me to use the oven I already have? Hmmm. Yea, that sounds about right.
Some googling revealed a number of ways to build such an extension. But they almost all involved buying stuff. I decided to forget all of those and try to mostly use stuff I already had laying around the garage.
First I removed the door and storage drawer. Oven doors are easily removable. I don't know why.
I constructed a platform that was roughly even with the bottom of the oven. The depth of the platform was based on the size of the random pieces of wood I had laying around.
I framed up a box and drywalled the inside with random scraps of drywall I had from a remodeling project from five years ago. I was making this up as I went along, so the construction is pretty janky.
I splurged and bought four rolls of aluminum foil from Dollar Tree and a couple of rolls of foil tape from Home Depot. About $20 in all.
I taped all of the drywall seams with foil tape. Its load bearing tape now.
I stapled aluminum foil to the inside walls and then sealed the seams with foil tape.
I tried to transition the foil into the oven as gracefully as possible. Its not easy.
I used some magnets to hold the foil to the inside of the oven because I wasn't sure the foil tape would hold up that close to the heating elements. That also means it should be pretty easy to separate the extension from the oven.
After the walls, ceiling, and floor were done, it was time to build a door. It was at this point that my wife came home from work and told me to make sure my life insurance was in order before I used this thing.
It would have been nice to build a door from a single piece of drywall, but that would have required buying a single piece of drywall. So I made a single piece out of random scraps.
I taped the pieces together with foil tape.
And then faced the inside with aluminum foil.
I used some clamps to hold the door to the box.
I shoved a yard stick under the door to create a bit of a gap to the floor.
And then used tape to make hinges. Cheap and easy.
Then I got fancy and added a handle.
Nice.
I decided I'd continue to use the clamps to hold the door tight to the box while baking.
I added four eyelet bolts to the corners of the ceiling to act as hangers. These where actually salvaged from an old Christmas tree stand, which I had gotten for free. Cheap.
With the extension built, it was time to give it a shot. Swingarm, you're up.
But not without precautions. At this point I thought there was a very good chance that the thing would burst into flames, so I bought a fire extinguisher.
And had the garden hose at the ready.
I did an initial bake at 200 degrees to "outgas" the swingarm and to test for heat leakage and/or a complete meltdown. But the extension handled it fine. So I cranked the oven up to 400. It took a very long time to get up to temperature.
While the box heated up, I shot the swingarm. When we finally hit 400 I put it in and set the timer for 20 minutes.
It worked!
But I think I put the powder on a little thick. I got some orange peel.
But you only see it if you get really close.
It still looks pretty good.
If I make sure that I don't go to thick with the powder the frame should work just fine. I've still got some prep work on the frame, so that will have to wait for a future post. Considering the fact that I only spent $20 on top of stuff I already had, I am extremely happy with my oven extension. Anything worth doing is worth doing right . . . . or for extremely little money . . . . and with little regard for proper construction techniques . . . . or safety.
