Service Manual
This week I finally got the bike title transferred into my name. When we went to do the transfer the PO gave me a service manual he dug up for the bike. I was planning to buy a Haynes manual or something like it, but it looks like this thing will be all I need. It's got maintenance procedures, disassembly/assembly instructions, diagrams, and more. Pretty much everything you could ever need in order to redo this bike.
This is the full wiring diagram. That should come in handy considering the rats nest of wires hanging off the bike.
There is an exploded parts diagram and parts list for almost every part of the bike. This is the oil pump.
There are these cool flow charts for tearing things apart. It shows the order in which you can disassemble different parts of the bike. This is the engine disassembly flow chart.
When I was first looking through the book this page caught my eye and made me laugh. The "Additional Considerations For Racing" section. I look forward to reading this in case I ". . . wish to subject this motorcycle to abnormal operation".
Boy are my arms tired
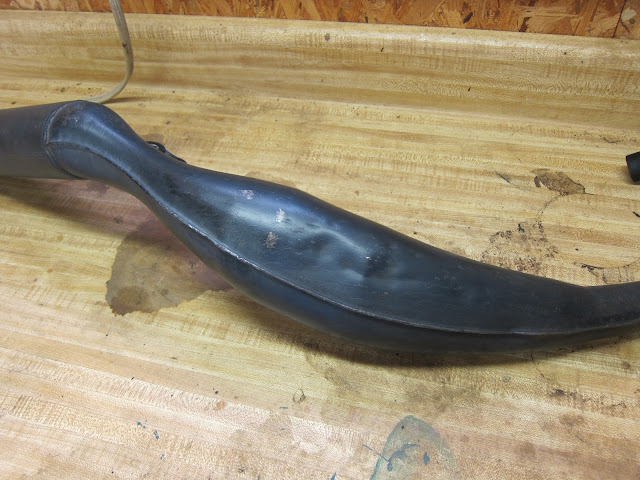
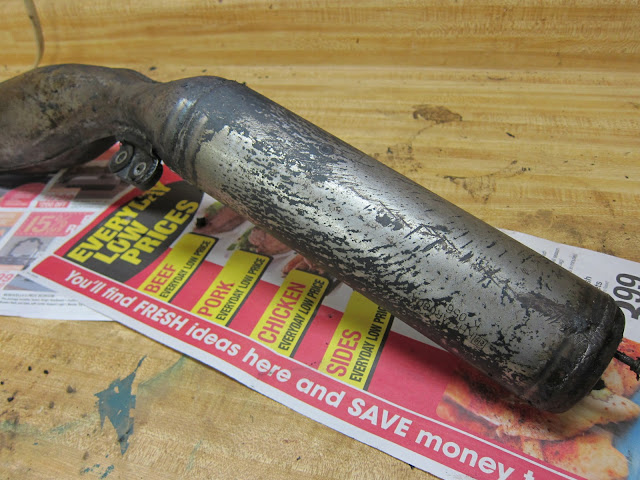
This is a not-so-great picture of what the main exhaust body looked like when I got it. Lots of scratches, flakes, dirt, and rust. My goal was to strip down to bare medal to get it ready for repainting. I started by using some chemical stripper to get the majority of the paint off.
The chemical stripper worked pretty well as you can see above. My plan was to use a couple of wire wheels on my Dremel to clean up the rest.
But it only took a matter of minutes for those little wire wheels to wear out.
I had definitely made some progress, but not as much as I'd hoped. I was going to have to buy a whole bunch of those little wire wheels if I was going to keep going down that road. Instead, I bought a couple of those spongy sanding blocks (a medium, and a coarse) and went at the rest by hand.
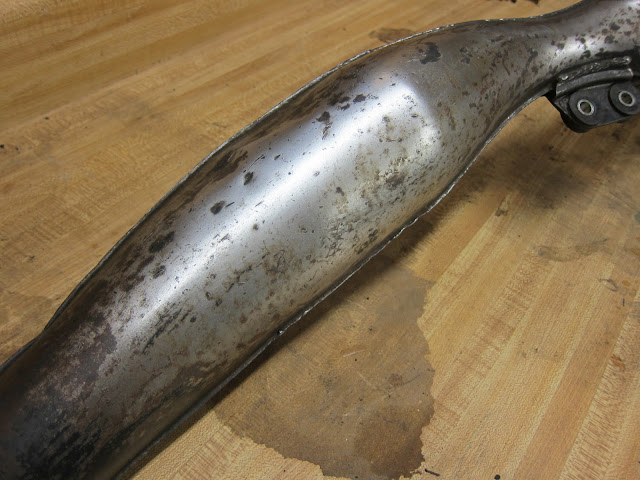
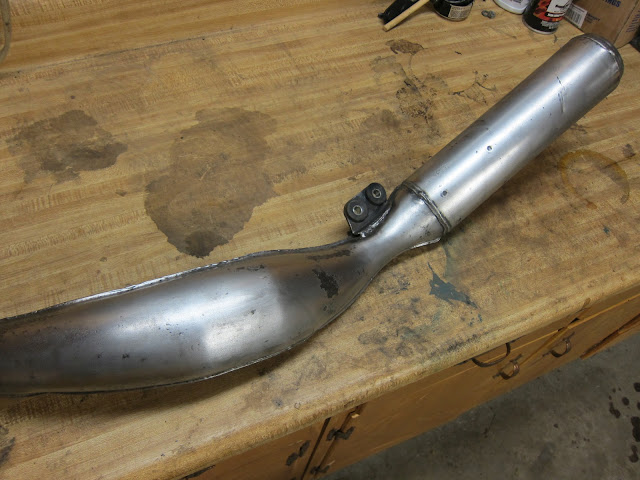
Two very tired arms later I ended up with this. I'm pretty happy with how clean and shiny I was able to get it. The dark spots are where rust had already pitted the medal quite a bit. These pictures don't show it, but the section nearest the engine is severely pitted. There are also some other dings and scratches that I couldn't quite sand out, but once painted I think the whole thing will look good. Better than it did before anyways. This isn't a show bike or anything. The Krud Kutter did a pretty good job of eating the rust off the surface. I would alternate the KK and sanding on the rusty bits until the rust was gone. I am now declaring the exhaust ready for paint.
DW on the Exhaust
Parts of the exhaust pipe are pretty nasty looking. I decided to remove the silencer end cap to see if I could clean it up a bit. This is what it looked like before I started.
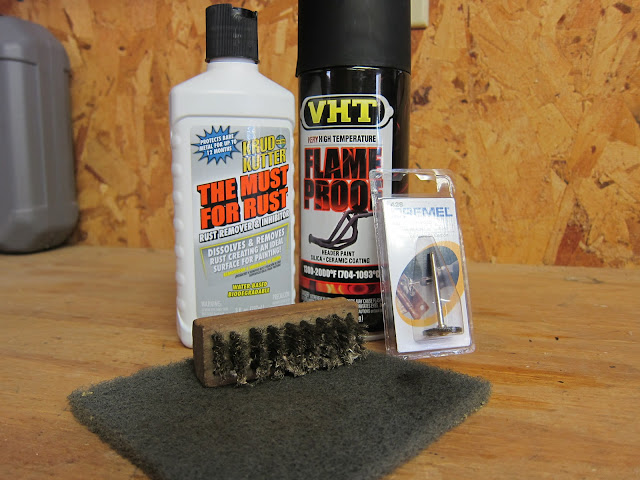
A stiff bristled brush and a sanding pad worked pretty well to take off the flaky rust and random dirt. But I was really able to make some progress with the wire wheel on my Dremel. The Krud Kutter is supposed to remove any remaining rust in preparation for paint (I haven't tried it yet). My plan is to use gloss black on the frame and motor so I'm going with flat black on the exhaust for a bit of contrast.
The Dremel really did wonders. Nice and clean and ready for paint.
Painted. Looks pretty good if I do say so myself. If I can replicate this on the rest of the exhaust it should look pretty sweet. I plan on using some stripper to remove the majority of the paint from the exhaust body. I'm pretty patient but using that little wire wheel to remove all the paint would take forever.
With that success on the end cap I couldn't help but do a little work on the rest of the exhaust. The portion of the pipe nearest the motor looked like this. Not good.
Again, I used the brush and pad to get the loose rust and dirt off. Then spent a few minutes with the Dremel. Big improvement. But it began to flash rust almost instantly. I guess that's where the Krud Kutter will come in. Ideally I'll finish the rest of the exhaust this weekend.
Gas Cap
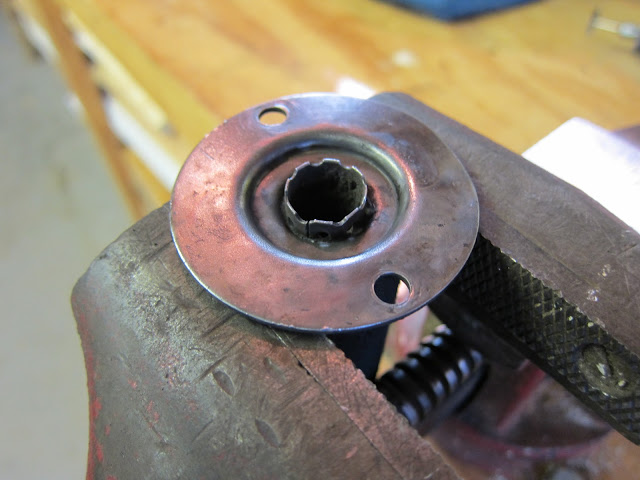
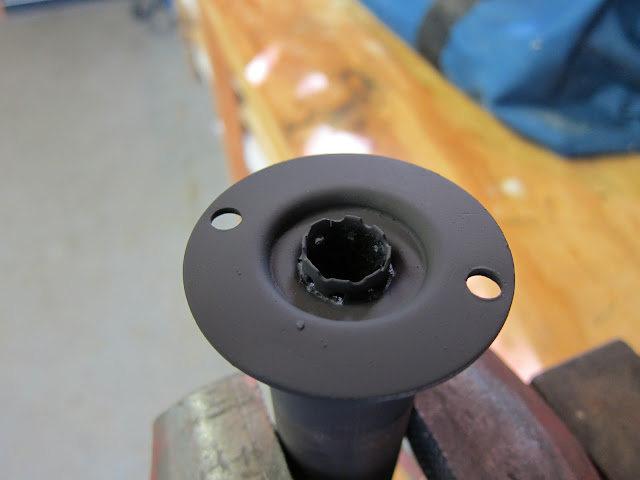
You have to start somewhere. The lockable gas cap comes off fine but doesn't really snap back into place when you re-lock it. I've been soaking it with penetrating oil to try and loosen it up.
1982 Kawasaki AR80
I'd been on the lookout for a small, cheap project bike to work on this winter. A couple weeks ago I stumbled across this 1982 Kawasaki AR80 listed for sale on mopedarmy.com by a guy here in Lexington. Single cylinder. 2-stroke. Kickstart only. Six speed gearbox. Sweet mag rims. It runs, but is in need of some serious TLC. Exactly the sort of thing I was looking for.
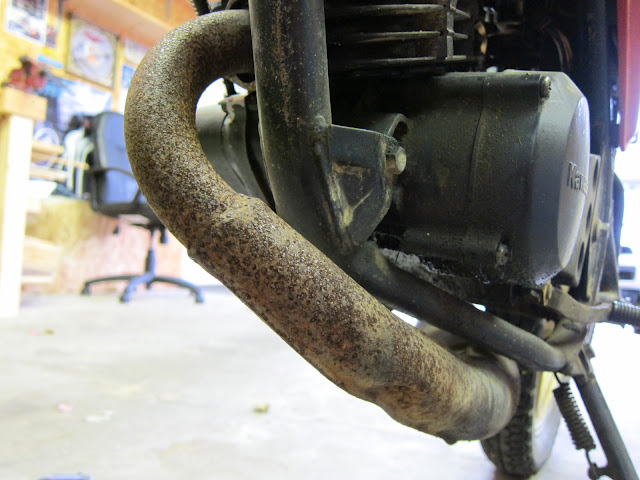
The exhaust has a little surface rust. Just a little.
Judging by the dirt and the rear tire I'd say one of the POs used this thing off road. That might also explain the dents in the bottom of the exhaust.
The kickstart boss is broken, which means this is a push start affair for now. I've already ordered a replacement.
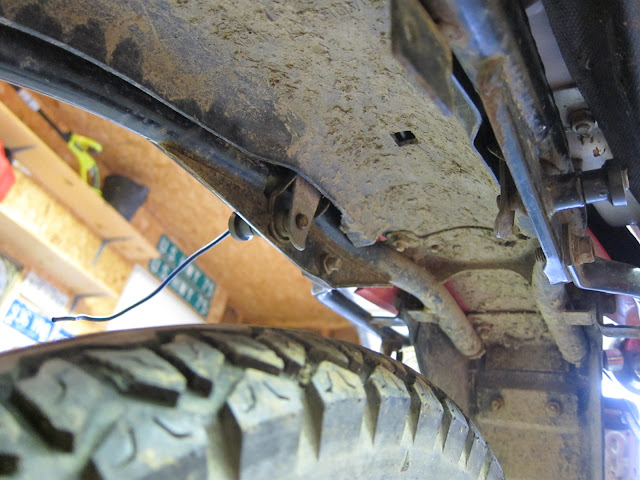
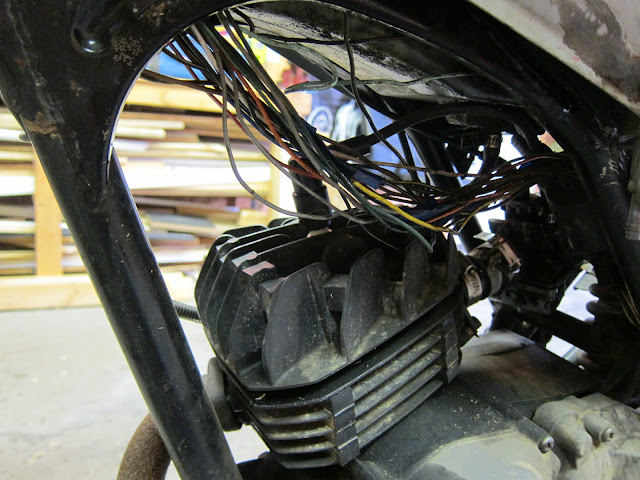
What does such a small bike need with so many wires?
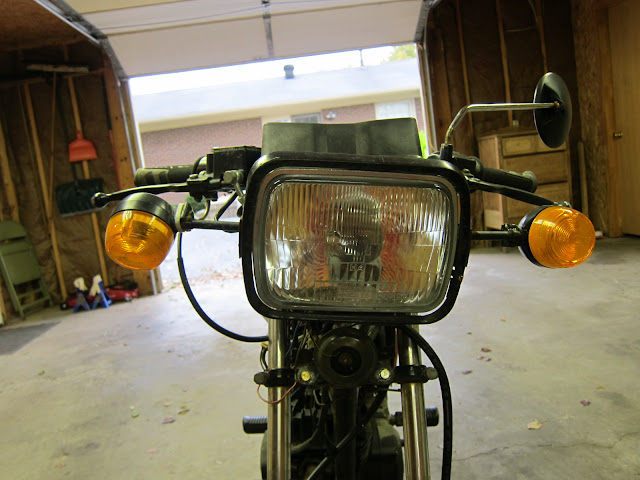
Not the stock headlight. Not the stock turn signals. From the factory this bike actually had a round headlight with a cafe racer style fairing. I'll probably go with a round headlight sans fairing.
Its been a rough 5,448 miles.
Born in Japan. Plated in Minnesota. Off-roaded in Ohio (probably). Restored in Kentucky (hopefully). I do not have any small children by the way.
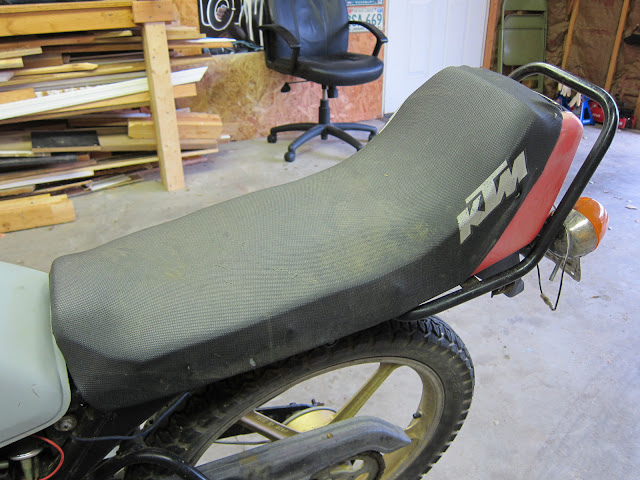
The stock seat pan has been recovered with lower profile foam and the seat cover off of a KTM. I like this profile much better than the bulky stock one but some better upholstery would be good.
The bike came with a box of parts: stock side covers, NOS headlight, random headlight bucket, stock airbox, extra brake MC and caliper, and a whole bottom end.
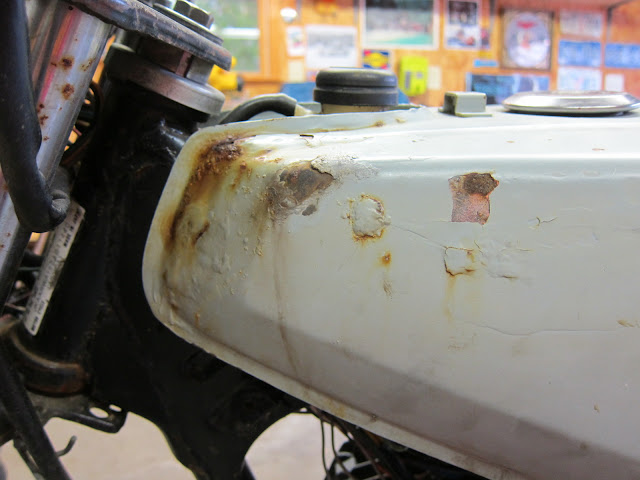
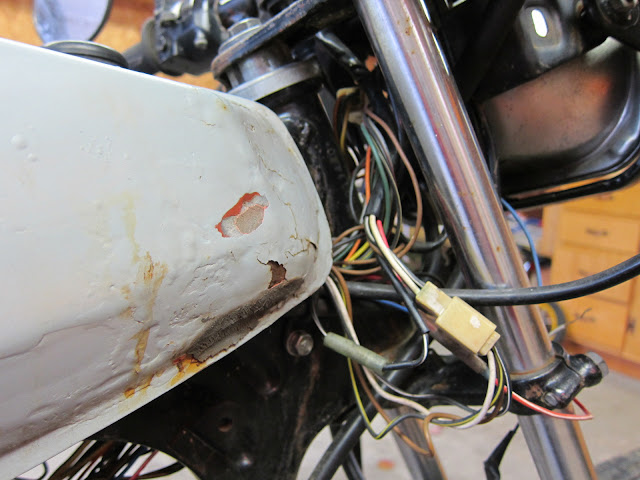
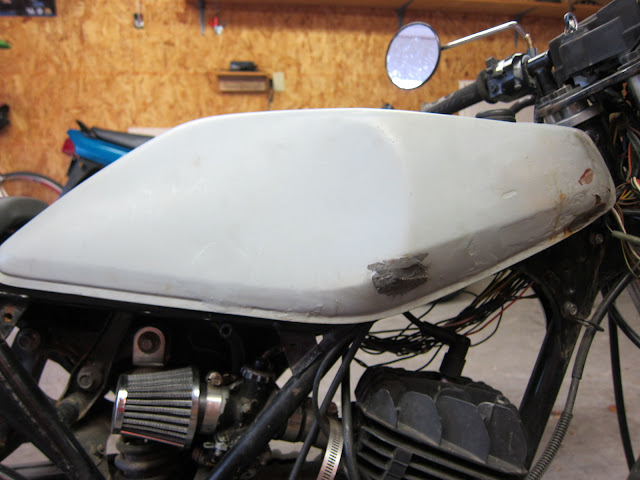
The tank is in pretty rough shape. Its got some rust and has been patched with JB Weld in a few different places. Finding a replacement tank for one of these can be difficult so I may have to try and fix it. The tank was actually leaking when I went to look at it. The PO started it by hooking up a water bottle as a gas tank.
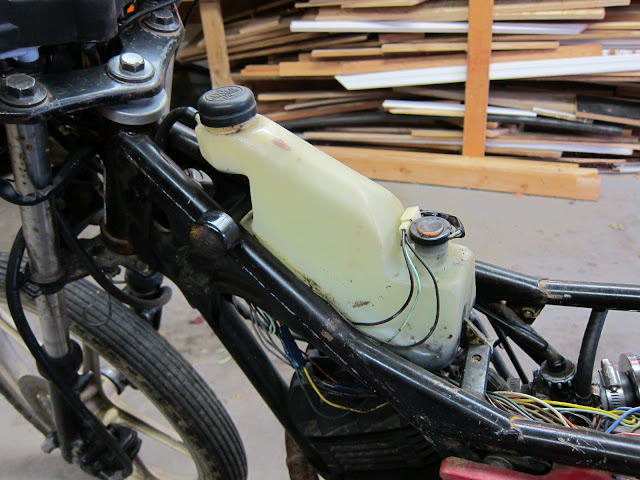
The oil tank sits under the gas tank. Automatic superlube oil-injection baby.
My plan is to get the tank, exhaust, and kickstart sorted out first. Then I'll tear her all the way down to the frame to clean, paint, and replace things.
Subscribe to:
Posts (Atom)


