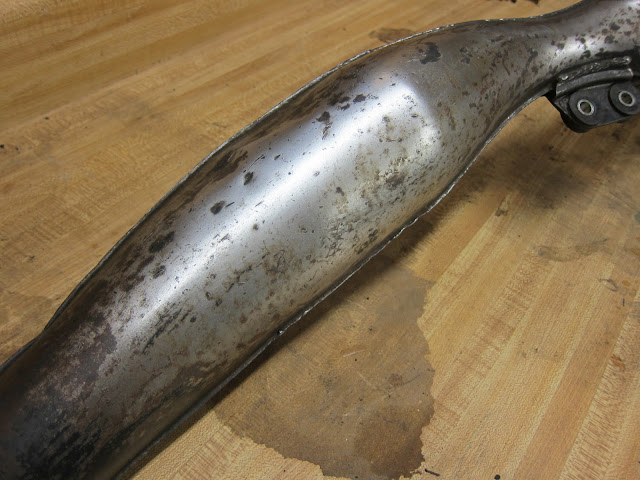
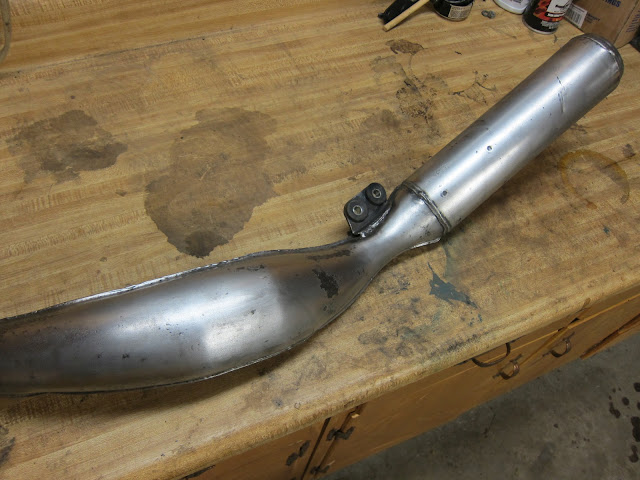
Paint prep continues
I basically finished up the swingarm and then got started on the triple clamps.
I've also started on the frame. I figured the frame was going to take forever, but I found a better chemical stripper that may make it a quicker job.
I picked up some Rustoleum Aircraft Remover because its quite popular with the online motorcycle crowd. So far its worked well.
The Aircraft Remover has a big airplane on the can so when you look at it on the shelf you think "Whoa, they use this stuff to strip paint off of 747s!". But then you read the directions on the back and it says "Do not use on aircraft". That's just not right, Rusty.
Paint prep
Today I started prepping some of the smaller parts for paint. I used some chemical stripper to start and then finished up with sanding pads. The shifter, brake pedal, and kick stand are ready to go. The swing arm is going to take forever. I should really just bring these things to someone with a sandblaster. But then what would I have to do on a rainy Sunday morning?
Yes, disassemble
. . . all over the place. I finally broke the bike down completely.
Here it is at the roller stage. The rear suspension on this bike is kind of unique in the way that the shock is nearly vertical in the center of the frame and gets compressed downward via the linkage. My plan is to run without the side covers to show off the shock. Side note: nobody makes a better light motorcycle stand than Wells' Blue Bunny in Le Mars, IA.
I didn't realize the steering stem used loose ball bearings. They bounced all over the garage when I dropped it out. I don't think I found them all.
As you can see many parts were covered in dirt and grime, so I sat down with a bucket of soapy water and scrubbed them down. I also let rusty parts soak in a can of Krud Kutter.
After scrubbing the parts down I arranged them neatly on my workbench like a huge nerd.
I've ordered a couple of A123 LiPoFE4 cells to build a smaller, easier to hide battery. Since I won't be using the side covers I'm going to fab up a tray to hold the battery, flasher, and igniter under the rear of the tank.
The engine ran when I got the bike, but it leaked oil. I'm going to clean it up and replace the gaskets, piston rings, and reeds. I'll also rebuild the carb and give the whole thing a nice coat of gloss black engine enamel.
Tank repair . . . attempt
After some searching around the interwebs, I found out that some people use a silver based solder to do basic tank repairs. The nice thing about this is that it doesn't require as much heat as brazing so you can just use a propane torch. It's fairly cheap, so I picked up the supplies and gave it a try.
I chose a smallish dent on the side of the tank for my first attempt. It was previously filled with a bunch of JB Weld.
I rested the tank on its side, brushed on some flux, and heated up the dent. Then applied the solder.
I ground it down with the Dremel and then sanded it smooth. Its hard to tell from the picture, but it turned out pretty well. So I moved on to the pitted and pin-holed front section of the tank.
That didn't go well for a few reasons. Some of what I thought was pitted metal was more JB Weld. While trying to heat up the metal I actually burnt away a bunch of it. So now I have more holes. Once I got the metal heated up the solder didn't want to flow into the dents or build up to cover the holes. It wanted to form a useless, giant ball of molten solder which would run off the side of the tank and/or run through the hole into the tank. Before it cooled I would try to spread it out with a piece of wood, but that didn't really work either. When I moved on to fill the next hole I would reheat, and undo, the work I had already done. I need to rethink my technique. At least I did a good job on the first dent.
Tank Investigation
I figured it was time to see what shape the tank was really in. POs have bondo'd, JB Welded, and painted in various places so it was a mystery as to what might lie underneath. Some places were already flaky and I could just scrap chunks off with a flat head screwdriver.
It's hard to see in this picture, but there is a small dent that had been filled. I grabbed a sanding pad to see if I could uncover some good metal.
Oh no, what terrible rust covered dent resides under this blob of JB Weld?
No rust or dent at all! Puzzling.
As I worked away from the front of the tank things looked better and better. I decided to get out the chemical stripper to see if I could make some real progress.
I was really encouraged after the chemical strip. I then went at it with a sanding pad.
This is what it looked like after only a few minutes of sanding. I plan on doing a lot more, but things were looking pretty good. Pretty good until . . .
D'oh. I punched a hole while scrapping rust off with a screwdriver. My plan is to use a torch and some brazing rods to fill in any pitted areas, dents, and this hole (and any other holes I manage to make) to try and get the best possible base on which to do body work and paint. Brazing, body work, and paint. Three things I've never done before. I've got some research to do.
Kickstart
The parts I needed to install the kickstart showed up in the mail. The kickstart lever itself came with the bike, but the kickstart boss was broken and I was missing the washer, snap ring, spring, and ball. The lever is a little beat up, but it'll get repainted eventually.
Look how "smushed" the old boss was.
Assembled.
Installed.
Painting the Exhaust
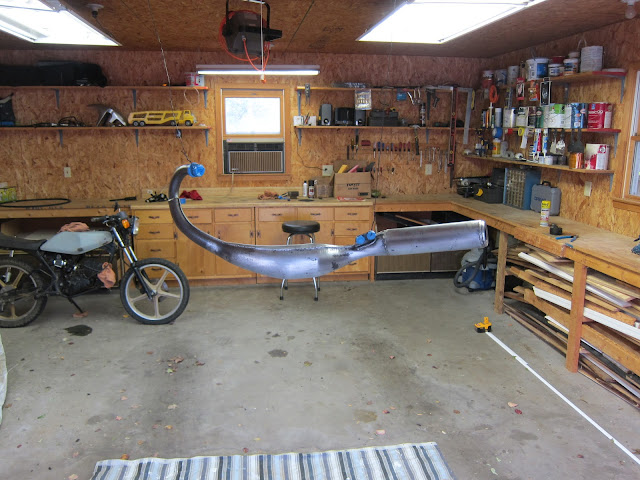
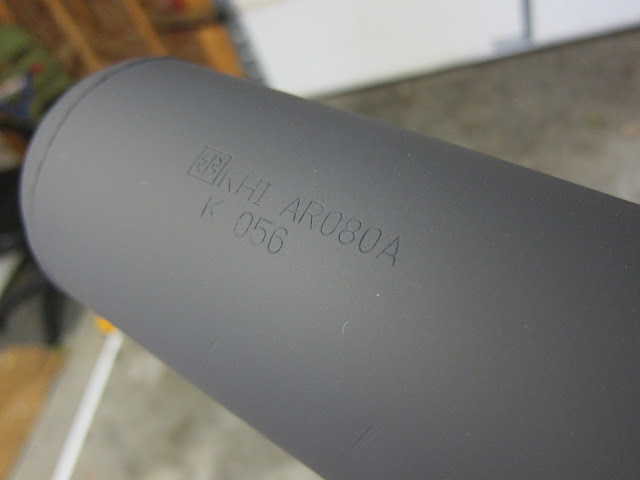
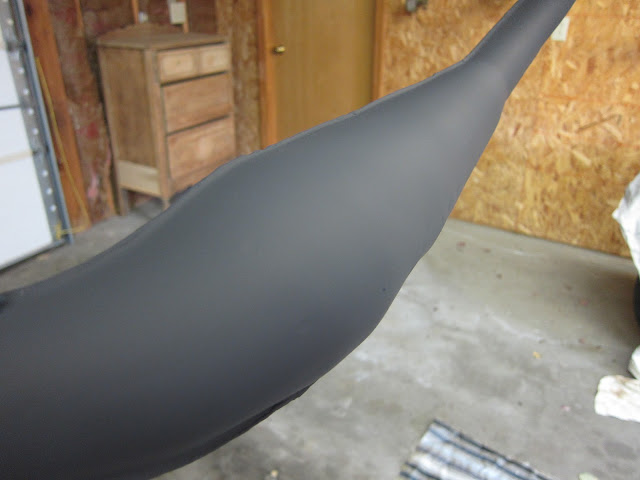
Got the first coat of paint on the exhaust. I did a few thin coats every ten minutes or so. The can says to then let it sit for a week before applying more coats (which I will probably do).
I also cleaned up some of the exhaust hanger and flange parts. I let the rusty ones sit in a bath of Krud Kutter, which cleaned them up pretty well.
Service Manual
This week I finally got the bike title transferred into my name. When we went to do the transfer the PO gave me a service manual he dug up for the bike. I was planning to buy a Haynes manual or something like it, but it looks like this thing will be all I need. It's got maintenance procedures, disassembly/assembly instructions, diagrams, and more. Pretty much everything you could ever need in order to redo this bike.
This is the full wiring diagram. That should come in handy considering the rats nest of wires hanging off the bike.
There is an exploded parts diagram and parts list for almost every part of the bike. This is the oil pump.
There are these cool flow charts for tearing things apart. It shows the order in which you can disassemble different parts of the bike. This is the engine disassembly flow chart.
When I was first looking through the book this page caught my eye and made me laugh. The "Additional Considerations For Racing" section. I look forward to reading this in case I ". . . wish to subject this motorcycle to abnormal operation".
Boy are my arms tired
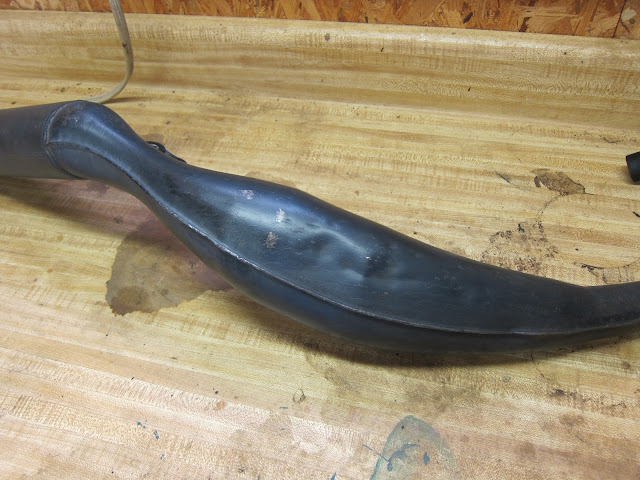
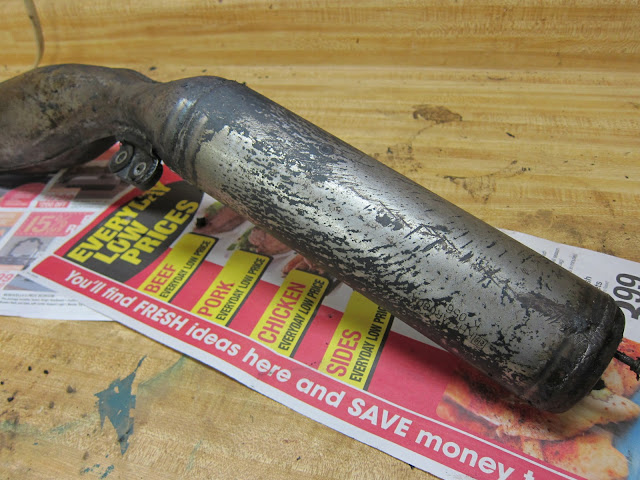
This is a not-so-great picture of what the main exhaust body looked like when I got it. Lots of scratches, flakes, dirt, and rust. My goal was to strip down to bare medal to get it ready for repainting. I started by using some chemical stripper to get the majority of the paint off.
The chemical stripper worked pretty well as you can see above. My plan was to use a couple of wire wheels on my Dremel to clean up the rest.
But it only took a matter of minutes for those little wire wheels to wear out.
I had definitely made some progress, but not as much as I'd hoped. I was going to have to buy a whole bunch of those little wire wheels if I was going to keep going down that road. Instead, I bought a couple of those spongy sanding blocks (a medium, and a coarse) and went at the rest by hand.
Two very tired arms later I ended up with this. I'm pretty happy with how clean and shiny I was able to get it. The dark spots are where rust had already pitted the medal quite a bit. These pictures don't show it, but the section nearest the engine is severely pitted. There are also some other dings and scratches that I couldn't quite sand out, but once painted I think the whole thing will look good. Better than it did before anyways. This isn't a show bike or anything. The Krud Kutter did a pretty good job of eating the rust off the surface. I would alternate the KK and sanding on the rusty bits until the rust was gone. I am now declaring the exhaust ready for paint.
Subscribe to:
Posts (Atom)


